project goal
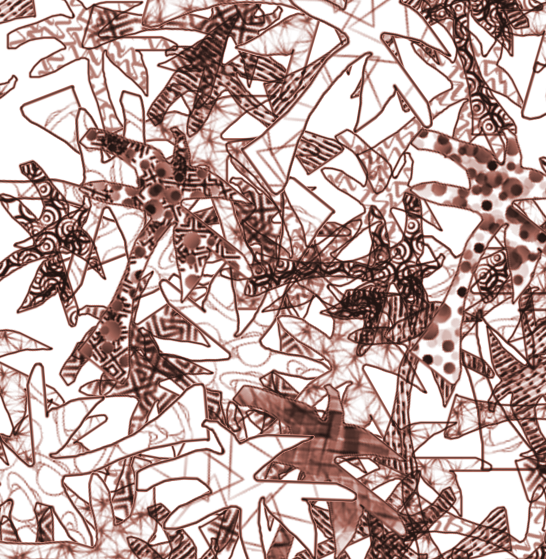
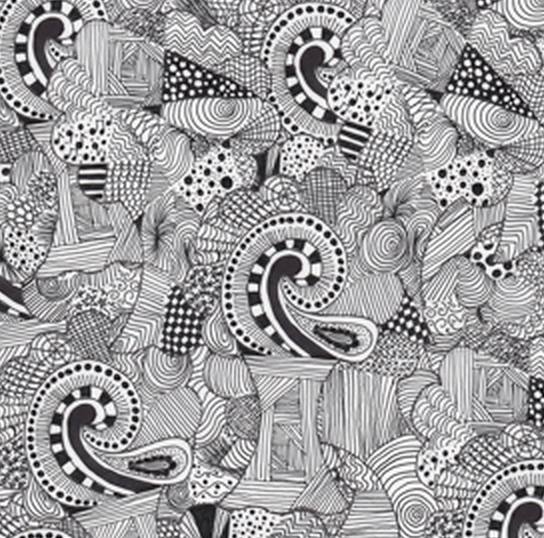
Create a piece of art using an organic shape as the base and incorporate a variety line and texture.
For this assignment, you will be working on several components:
1. Creating a piece of art utilizing the skills and techniques you have learned from the Line and Texture Unit.
2. Developing a piece of art that is well-crafted and harmonious in its final presentation.
3. Evaluating your art in written response based on the set-criteria.
4. Connect your personal experiences in the world to the requirements of a project.
|

|
|
Art Core Questions
How do artists create?
How do artists refine their work from the first concepts to the final presentation?
How does knowing the requirements of the project influence the evaluation of it?
How does creating a piece of art make you more aware to your personal surroundings?
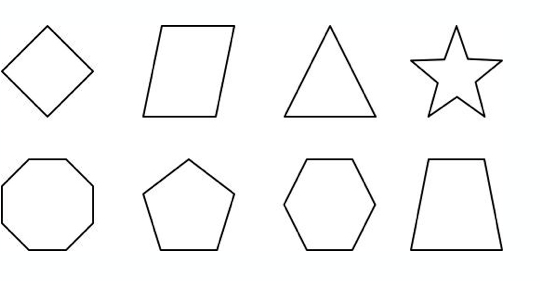
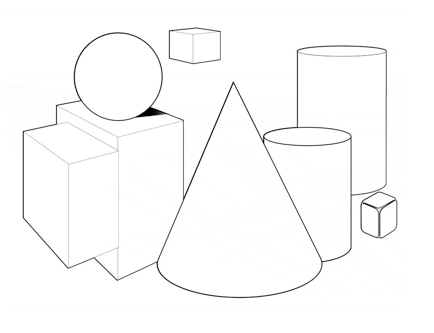
Organic VS. Geometric
|
|
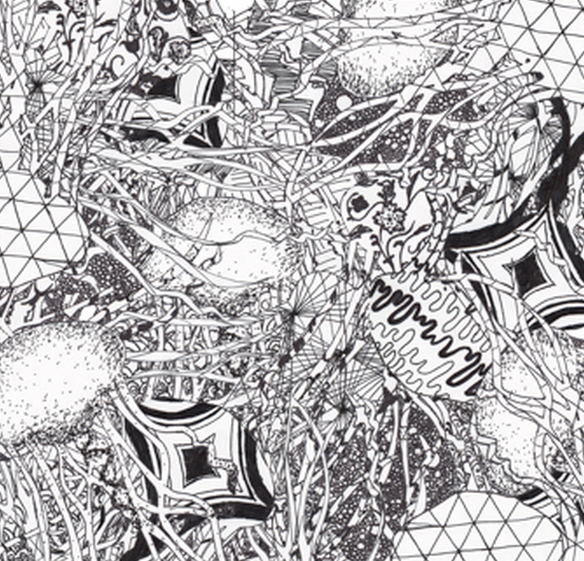
Now that you have experienced the variety of effects using different types of textures and lines can produce, you will create a piece of art using an organic shape as your base and incorporating line and texture.
|
|
|
|
Directions
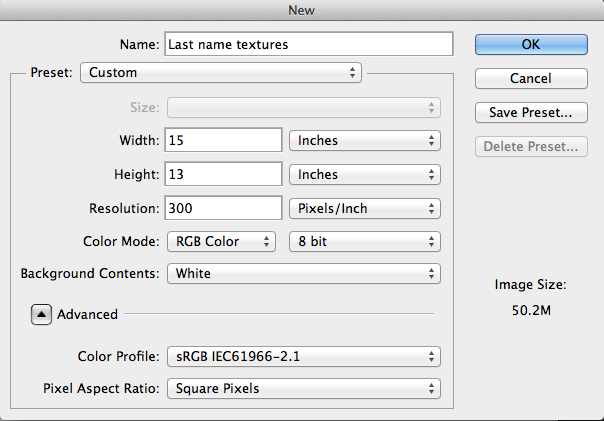
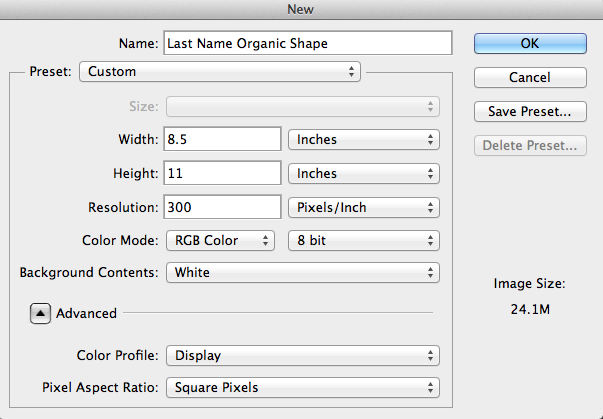
step 1 Create a new document
Step 2 create a new layer
Create a new layer by going to Layer>New>Layer or use Command/shift/N

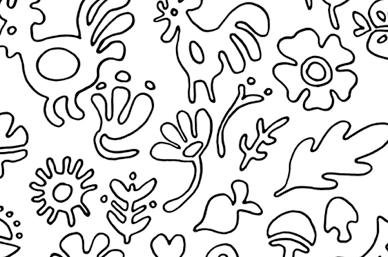
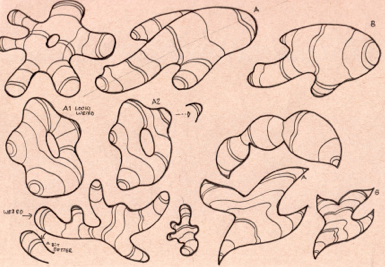
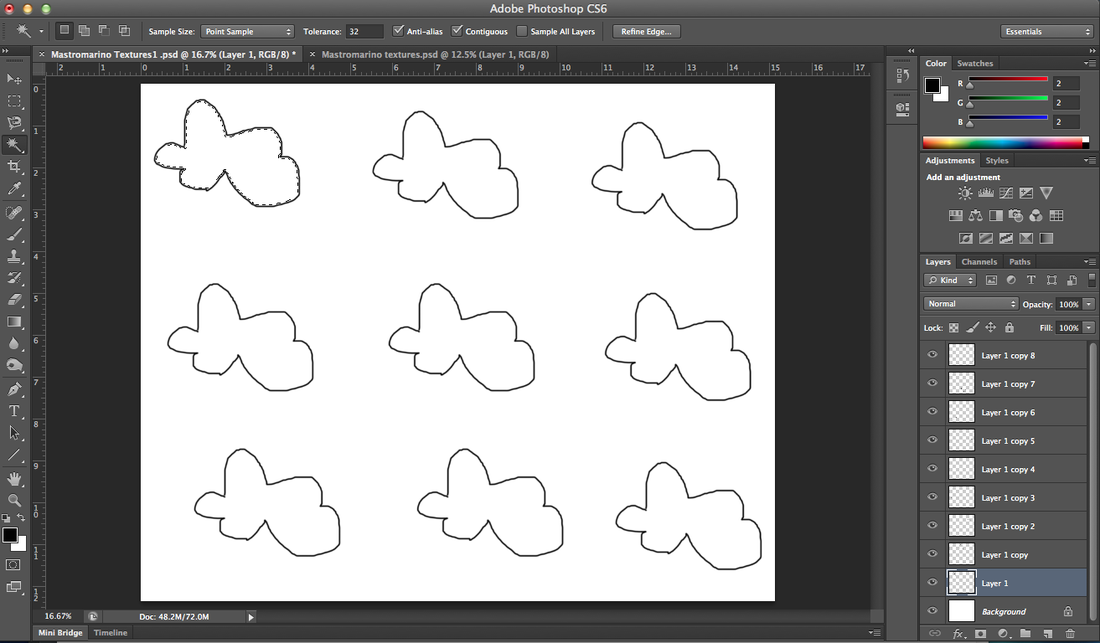
Step 3 Draw an organic shape
(AN ORGANIC SHAPE IS ONE THAT IS FREEFORM, OFTEN FOUND IN NATURE, DOES NOT HAVE NAME- THINK OF A PUDDLE OR CLOUD)
On layer one draw an organic shape with your paint brush. Use a simple round brush with black paint. The paint brush size should be small, I chose 5px. Make sure Opacity is at 100%, Hardness 100%, Flow 100%.

step 4 Duplicate the organic shape 8-10 times
Duplicate layer (Command J or under the layers menu choose duplicate layer) 8-10 times and organize the new layers so that each one is visible and has plenty of space to use the rectangular marquee selection tool around it. If there is not enough room, enlarge your canvas with the crop tool.
**A quicker way to duplicate shape onto new layers:
-Click on the layer that your shape is drawn.
-Click on the move tool (the very first tool, it looks like a pointer).
-While holding down ALT/OPTION key, click on and drag the on shape you drew. This will create a copy of the shape on a new layer.
**A quicker way to duplicate shape onto new layers:
-Click on the layer that your shape is drawn.
-Click on the move tool (the very first tool, it looks like a pointer).
-While holding down ALT/OPTION key, click on and drag the on shape you drew. This will create a copy of the shape on a new layer.

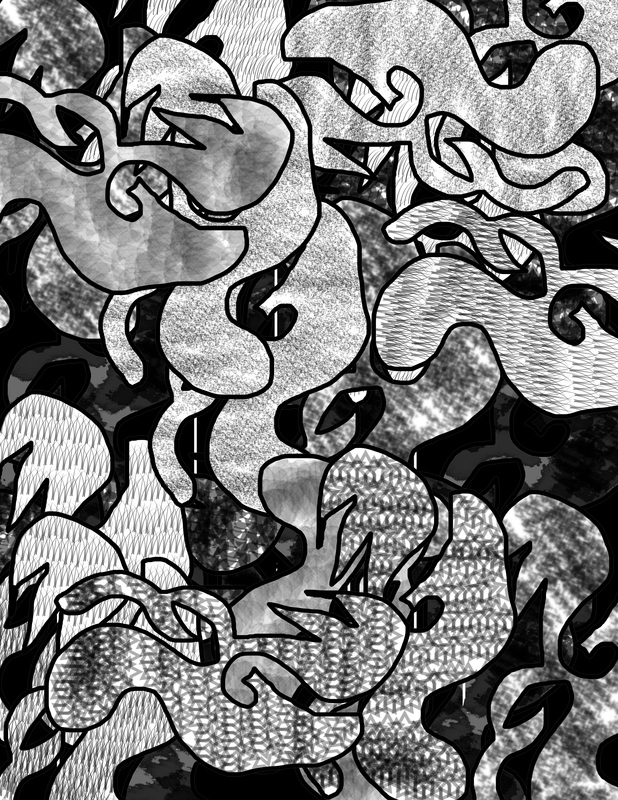
Step 5 fill each shape with a different texture
Find the shape on layer one and select it with the magic wand
Step 6 fill each shape with a different texture CONTINUED...
THERE ARE MANY WAYS TO ADD TEXTURE BUT I WILL SHOW TWO WAYS:
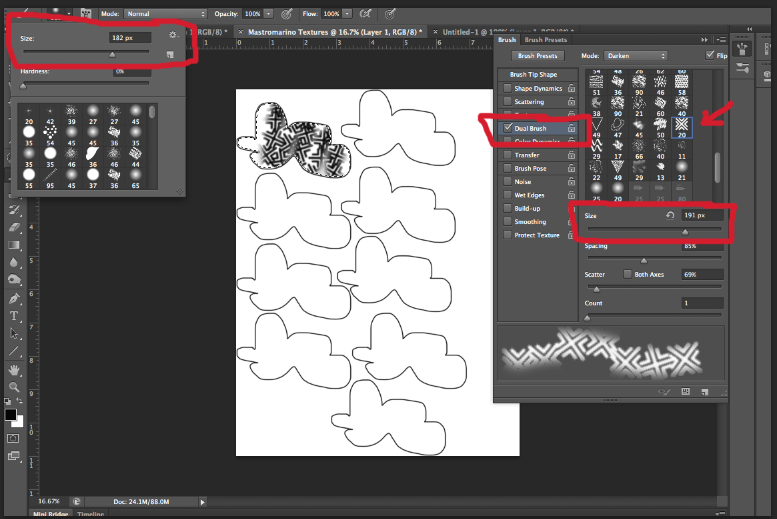
1ST WAY:
-Click on your paint brush tool
-Click on the button that shows little paint brushes...This will give you more options to create texture with your brush
-Remember that this piece is black and white only
-Click on the button that shows little paint brushes...This will give you more options to create texture with your brush
-Remember that this piece is black and white only

-In the new menu check off Dual Brush and select a brush that you think will create interesting texture
-Make the brush size larger on the normal menu found in the upper left corner (click on the arrow next to the paintbrush size number)
-Make the brush size larger in the new menu
-Experiment with other settings in the brush menu and see what happens!
-Make the brush size larger on the normal menu found in the upper left corner (click on the arrow next to the paintbrush size number)
-Make the brush size larger in the new menu
-Experiment with other settings in the brush menu and see what happens!
2nd Way:
An additional method of adding texture would be to use the same method that we used to add texture to the shoe:
Some tips:
-Have some of your shapes filled in dark and some light (This will give your art value and contrast)
-Change the opacity on the brush to get a lighter value
-Change the opacity on the brush to get a lighter value


|

|
step 7 Flatten image
Once your happy with your textures flatten the image

step 8 create a new document
Now you are ready to start on the final document
step 9 Copy the textured shapes onto the final document
-In your texture document, use the Rectangular Marquee Tool (the second tool down that looks like a dashed square) to select around a textured shape.
-Command C to copy
-Open the final document, Command V to paste
-Delete the white area around the shapes and by selecting it with the magic wand then hitting delete on your keyboard. Press Command D to deselect the area.
-Command C to copy
-Open the final document, Command V to paste
-Delete the white area around the shapes and by selecting it with the magic wand then hitting delete on your keyboard. Press Command D to deselect the area.


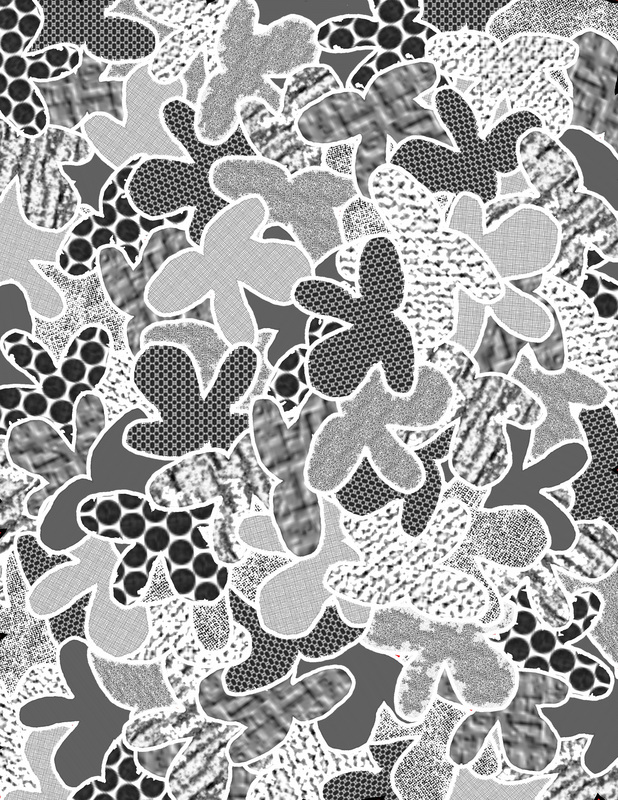
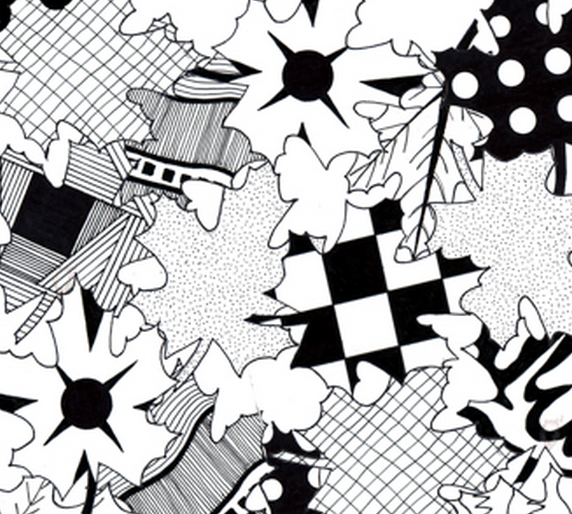
step 10 Fill the canvas with the textured organic shapes
-Once you have all of the different textured shapes in your final canvas you will duplicate the layers several times so that you have enough shapes to fill almost all of the canvas.
*To duplicate multiple layers at once- holding shift down while selecting multiple layers in the layers panel, then press command J
*To duplicate multiple layers at once- holding shift down while selecting multiple layers in the layers panel, then press command J
step 11 Rotate & change opacity of layers to create variety & contrast
-Rotate most of the shapes using free transform (command T) or Edit>free transform
-Change the opacity of layers as desired
-Try to find an aesthetically pleasing balance of positive and negative space. Positive space is the shape itself. Negative space is the background that shows through. Having some (less than 40%) background show through will break up the space allow your eyes to rest.

|

|
